How To Charge Oculus/Meta Quest Controllers
When it comes to at-home VR, we're somewhat spoiled for choice these days — both in terms of headsets and the games themselves. This steady rise in consumer-level virtual reality has, of course, led to numerous improvements across both the hardware and software, including the development of simpler ways for you to keep everything charged.
If you own something like the Meta Quest 3 or any of the previous Quest models, or any other VR headset for that matter, really, you're inevitably going to run out of juice at some point. The controllers in particular will as they're not normally rechargeable.
Once your Quest controllers run down — and they will at some point — you can simply swap the current sets of AA batteries with new ones and get back to your games. It's also possible to set your controllers up for recharging (rather than battery replacement), but that will require an additional purchase or two since the Quest doesn't typically include this feature out-of-box.
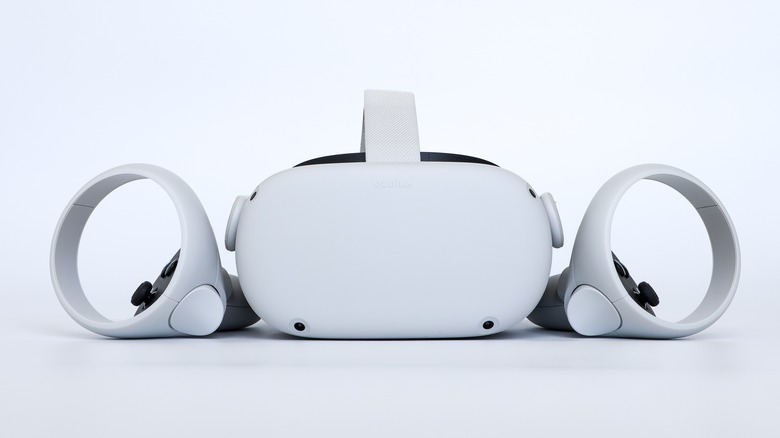
Charging your controllers on a Quest or Quest 2

All of the Quest controllers released thus far use standard AA batteries by default, so all you need to do is swap them out. However, both the Quest 2 and 3 also have official charging docks you can purchase separately.
- To replace the batteries, hold one of the controllers upside-down with the L or R handle indicator facing up, then carefully push in and up to unlock and slide off the cover for the battery compartment.
- Remove the two AA batteries inside the compartment and replace them — either with a fresh pair or with a pair of rechargeable AAs. If the removed batteries are rechargeable, place them in their charger.
- Put the battery compartment cover back on and repeat the process with the other controller.
- To set up a charging dock, open the battery covers on both controllers and remove the batteries.
- Install the new batteries from the charging dock kit, making sure the side contacts are facing the open side of the compartment, then slide on the new battery compartment covers.
- Plug the charging dock into a power source then place the controllers in their respective cradles, making sure they're oriented correctly in order to charge.
If you decide to go the rechargeable battery route, it's worth considering getting two sets of batteries (eight in total). That way you can use one set while the other one charges, then switch and recharge in order to keep playing.
Quest 3 controller charging
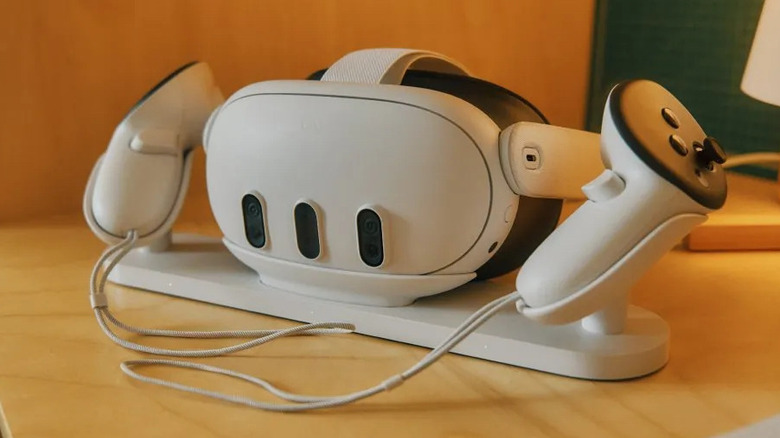
While charging controllers for the Quest 3 is a very similar process compared to previous versions, there are some minor differences.
- Press the dedicated battery cover release button on one of the Quest 3 controllers (located towards the outer side, near the portion with the control sticks and buttons) and remove the cover, then take out the batteries if there are any installed.
- If you're using regular or rechargeable AAs, place a fresh or charged pair in the controller and close up the battery compartment.
- If you're setting up the charging dock, find the new battery (the dock comes with the two) that matches the controller you've opened — R for right, L for left — and install it with the Minus (-) symbol towards the top of the controller and the L or R indicator facing out.
- Replace the battery compartment cover and repeat the process with the other controller.
- Plug the charging cable into the dock, then attach the 18W adapter (included with the Quest 3 headset) into the other end and plug it into a power source.
- Place the controllers on their respective charging cradles with the grip buttons facing up, then place the headset in the middle cradle with the front facing yourself.
When you see an orange LED light on the front of the dock, you know your controllers and headset are charging. The LED will change to green when all three devices have been fully charged.