How To Replace The Battery In An Oculus Controller
We may receive a commission on purchases made from links.
There have been several iterations of the Oculus, (now Meta) controller, and most of them run on AA batteries. This might seem like a primitive power source in this day in age, but it's designed that way for the user's convenience. Rechargeable controllers with built-in batteries are great for most consoles since you can simply play with them plugged in when they run out of juice. But tethering VR controllers to a power outlet can cause all sorts of problems.
Using AAs allows the gamer to choose between disposable and rechargeable options while also freeing them up to swap out dead batteries in an instant rather than having a game session ruined when one of the controllers goes dead in the middle of a round of "Beat Saber." It's also one of the many ways that Meta keeps production costs low which has allowed the Quest 2 to remain one of the cheaper performance VR headsets on the market even after its unwelcome price hike in 2022.
That said, finding the battery when it's time to change it out might have some gamers scratching their heads. The engineers who designed the Oculus controllers wanted them to feel smooth and seamless, so there isn't an obvious clasp or anything like that to indicate where the user needs to open it up when it comes time to change out the battery. The process is pretty simple when you know how though.
The Oculus controller has a hidden compartment
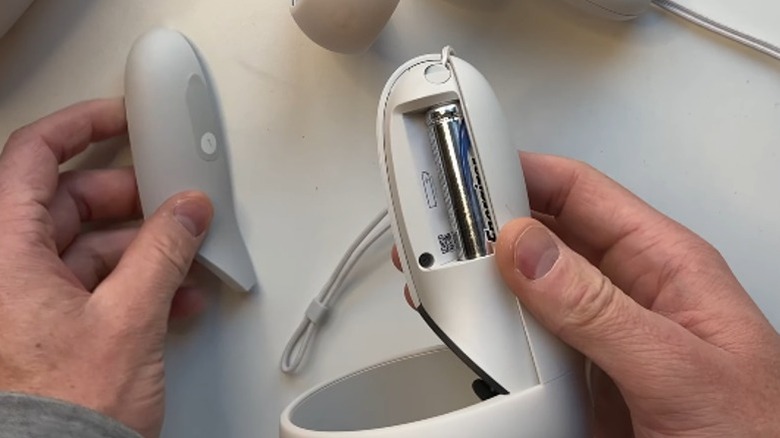
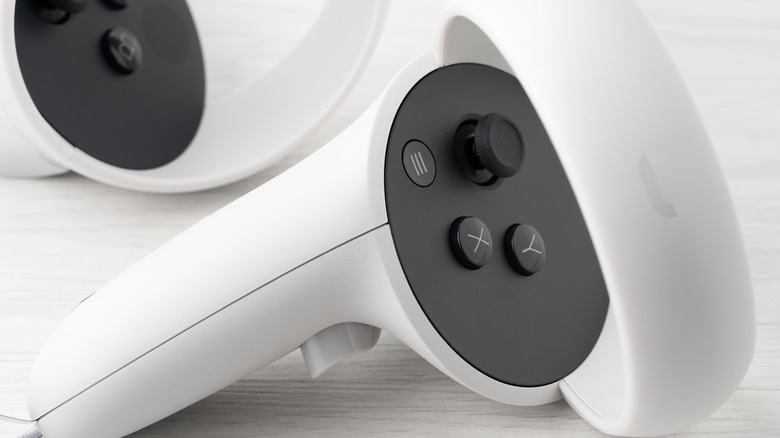
If you look closely at one of the Oculus controllers, you should see a seam separating the plastic panels on the grip. One of these panels is permanently fixed to the controller while the other is magnetically held in place. Place your thumb at the top of the panel opposite the triggers, just below the face where most of the buttons are located. Now apply pressure toward the bottom of the controller to break the magnetic hold and slide the panel out of place. You should now be able to see the battery inside.
Remove the battery and replace it with a new AA, making sure that the positive side of the new battery is facing the bottom of the controller. If you haven't already, this is a good opportunity to swap out any disposable batteries for some quality rechargeable ones. In addition to being more environmentally friendly, they're also much more cost-effective in the long run.
Once the new battery has been inserted, all that's left to do is replace the magnetic panel and then repeat the process on the other controller. They should automatically re-synch with the Oculus client app once you press any button to turn each of them back on. Then you should be all set to dive back into your virtual world.